I have had a few different camera slings and harnesses now over the last 3 years to help carry the weight of the large digital camera and telephoto lens I use.
The shoulder sling type I’ve had eventually created strain on my back as they didn’t support the weight of the camera setup very well.
I then tried a cheap vest type harness from eBay to carry the camera setup on my chest. This worked well, the weight distribution was much better, the thing that let it down was the quality of the fixing plate. This kept spinning and unscrewing itself under the weight of the camera & lens as I was walking. So I couldn’t carry on using this as I didn’t want the camera and lens to fall off!
I treated myself to the Cotton Carrier CCS G3 Grey Harness for Two Cameras. Here is an unboxing of this kit.
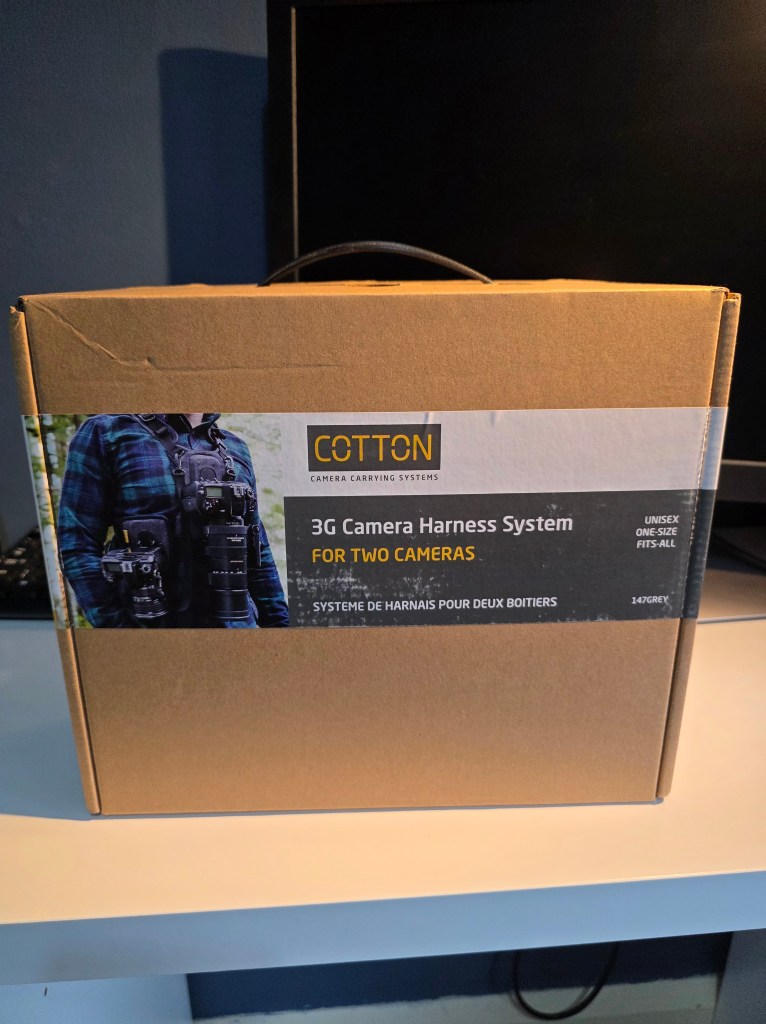
The harness comes in a really good quality box which is the first thing you see.
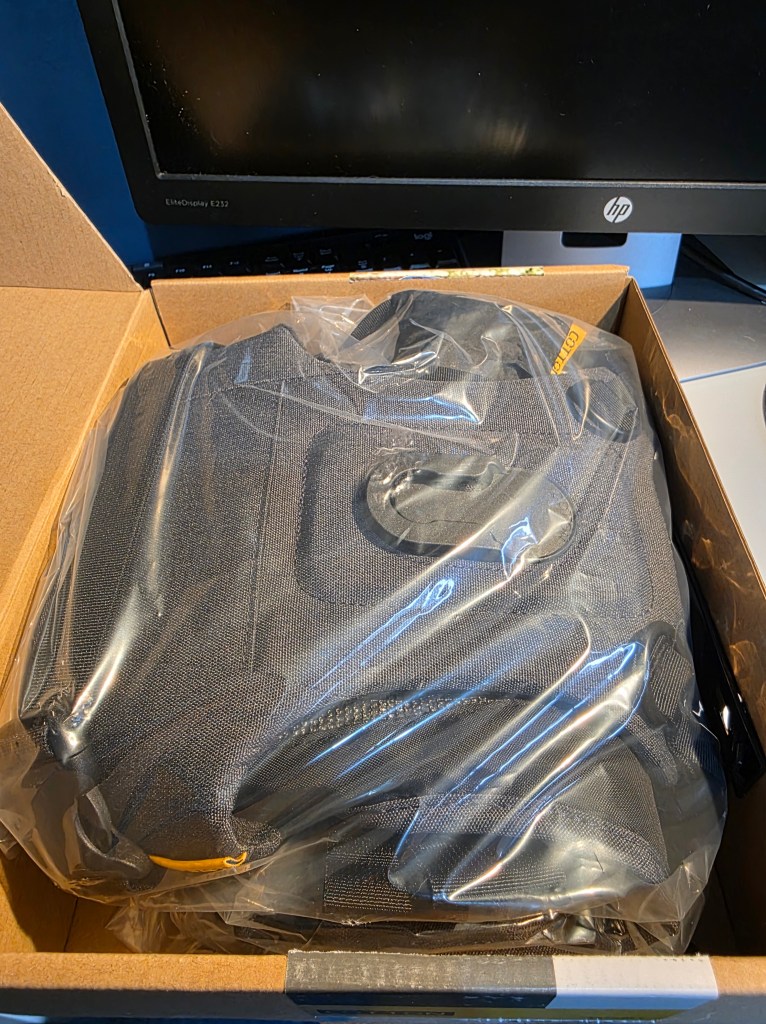
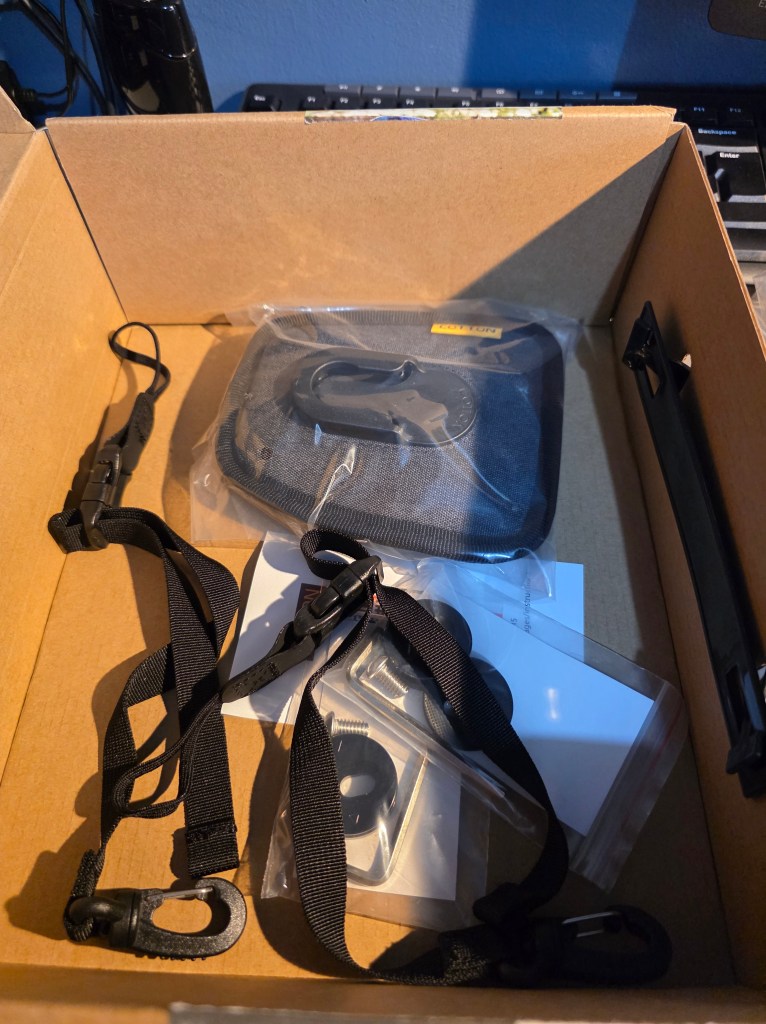
Once opened the harness is packaged well, with all the additional items underneath.
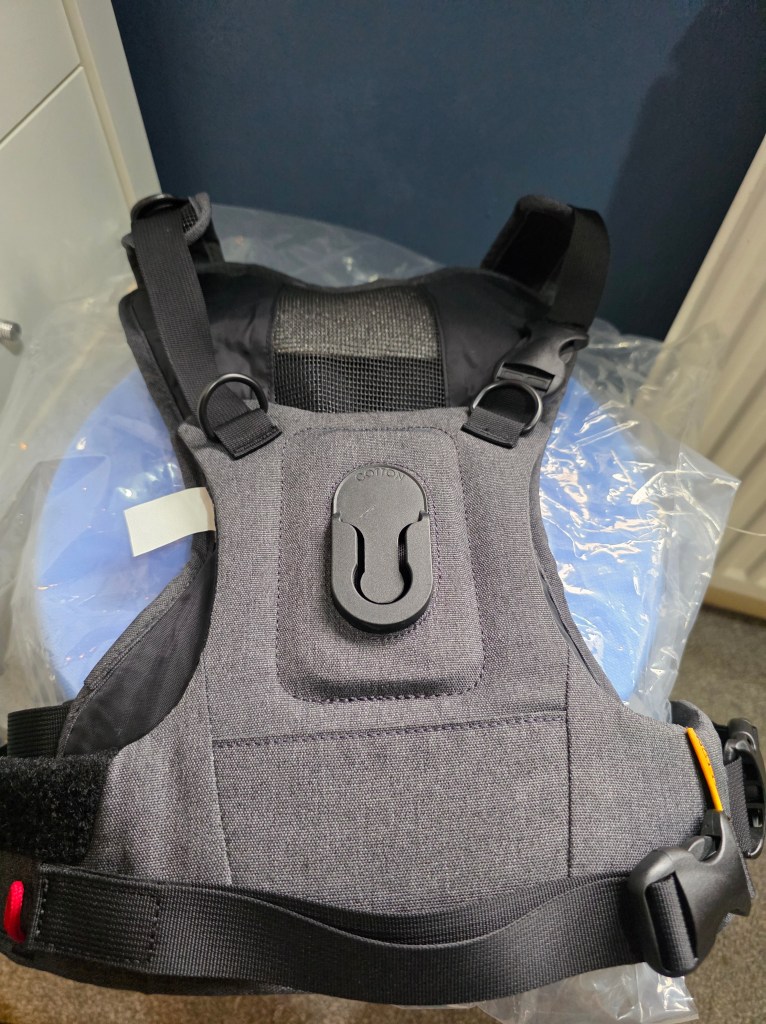
I have removed the harness from the plastic bag and tried this on. Thankfully there was enough adjustment as I’m not a slight framed man like the models used on the website!
Having test fitted the harness there was enough adjustment to get this comfortable on me. The build quality of the harness is excellent from first look. Quality clips and buckles, the material is comfortable when wearing the harness.
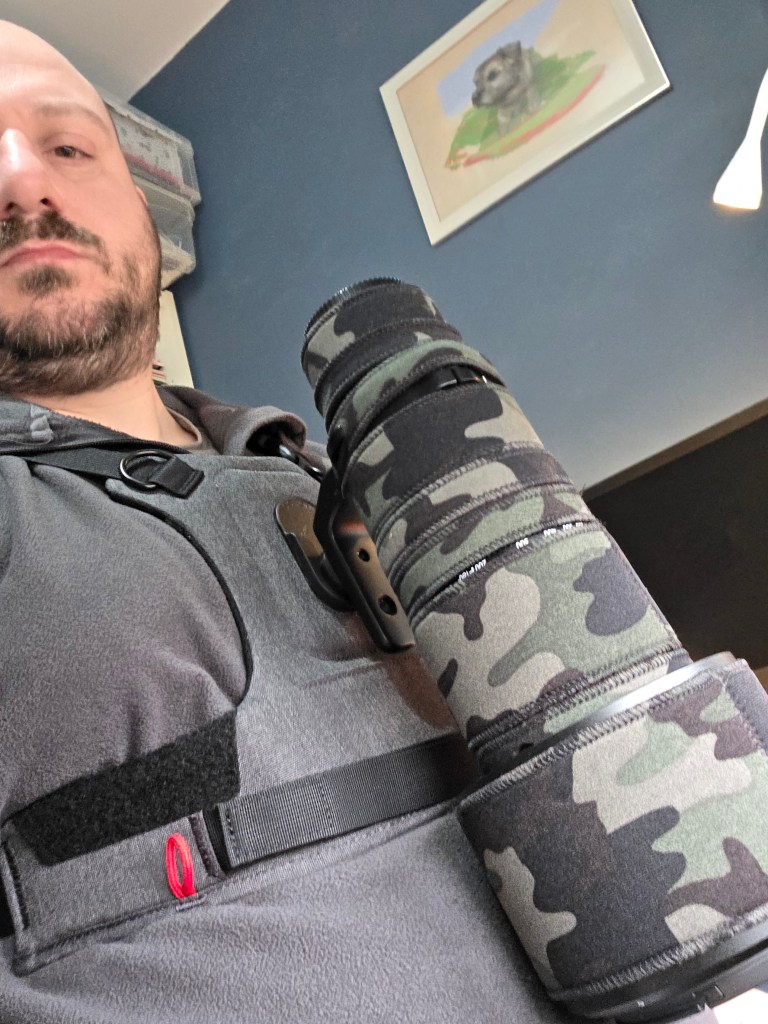
The Twist & Lock receiver looks to be very sturdy and much better than the one I had before. Test fitting this to my Nikkor 180-600mm lens without the Z8 attached it felt balanced and secure on my chest. The Twist & Lock system worked well and will be easier in the field than the last harness I had as I struggled getting that locked in and out.
What’s in the box:
- 1x G3 Camera Harness – Charcoal Grey
- 1x Wanderer Side Holster
- 2x Safety Tether
- 1x Clip on Weather Cover
- 1x CCS Hub – Flat Mounting Hardware
- 2x Hi-density Rubber Washer
- 2x Stainless Steel Marine Grade Camera Mounting Bolt
- 2x Allen Key
First impressions this harness is excellent quality and should be good when out and about with my big lens and even the smaller lenses.
I will update this post when I get the chance to test the harness in the field.